A Trusted Party is an upgraded contact linked to another LifeReady user. This allows you to give them permission to access your records in your Vault, help you recover your account, and act on your behalf in an emergency.
In the Contact Book, you will see an icon next to certain contacts indicating they are a Trusted Party rather than a regular contact.
By default, a Trusted Party has no access to anything in your account when first added. Access to your records and other permissions must be granted separately.
Who Can be a Trusted Party?
A Trusted Party needs a LifeReady account but they do not need to be a paying customer. You can invite anyone to be your Trusted Party – they just need to create an account. Non-paying users have reduced functionality, but this does not affect how you work with them as Trusted Parties.
We recommend having at least two Trusted Parties to set up account recovery and your Legacy. Family members make a good starting point for your first Trusted Parties.
You always have full control over what access each Trusted Party has, and this can be changed at any time.
Inviting a Trusted Party
You can invite Trusted Parties by creating a new contact or through an existing contact. For existing contacts, refer to “Inviting a Contact to be a Trusted Party [link].”
To invite someone new as your Trusted Party, you will need their email address. The process is the same whether they have a LifeReady account or not.
- Click ‘Add New‘ in the Contact Book and select Invite a Trusted Party.
- Enter the person’s email address when prompted and click ‘Invite’.
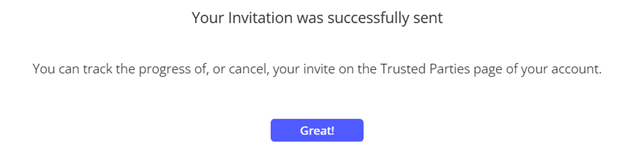
- You will see confirmation that the invitation was sent successfully.
The invitation will be emailed to the recipient. If they already have a LifeReady account, they will be prompted to log in and accept the invitation. If not, they will need to sign up through the link in the email.
Trusted Party relationships are always mutual – when you invite someone to be your Trusted Party, you automatically become their Trusted Party once they accept the invitation.
Removing a Trusted Party
To remove a Trusted Party, select their name from the Contact Book and click ‘Remove Trusted Party‘ from the options menu.
If a Trusted Party is associated with your Account Recovery or Legacy, you will need to remove them from those first before you can remove them entirely.
Removing a Trusted Party also removes yourself as their Trusted Party. Consider confirming with them first that this is acceptable.